Text and hypertext can be presented quite dramatically via Netscape, but
it's images that people find really eye-catching when they first
encounter graphic browsers for the WWW. As the Web matures the use of
images will probably become more sophisticated, and as access speed
improves at W&L (when the T1 line arrives) it will be less
frustrating to retrieve image-heavy pages from remote sites.
Images are scanned, (i.e., digitized and saved as certain kinds of
files). The essential (at least for the moment) for images is that they
must be
saved in the .gif format (though Netscape can handle jpeg
images as well). At the moment W&L's scanning and image editing
facilities are pretty limited, but by September the paths to turning your
images into .gif files will probably be clearer and less beset by demons.
Here are a couple of preposterous images from the Sharper Image Online
Catalog's Father's Day Gift Ideas page.
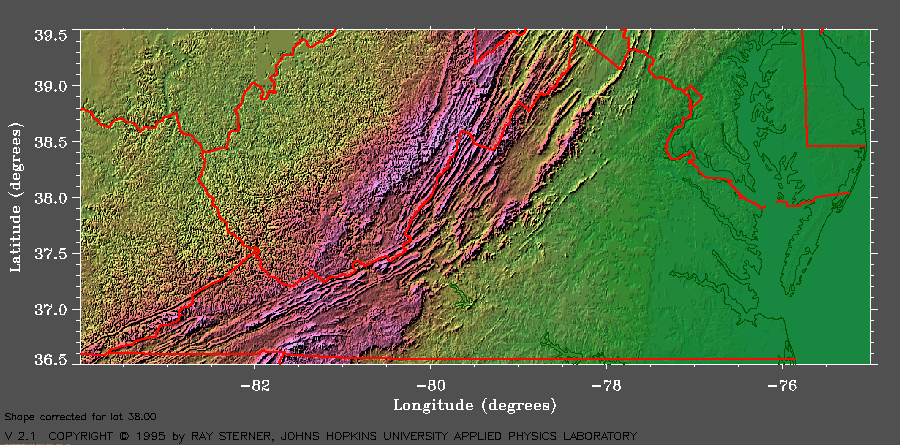
And here's a nice Virginia map:

You can grab these or any other images you find on WWW pages and
save them on your local machine --and then transfer them to Liberty and
put them onto your own page(s) if you want to. The process is a bit
complicated, but here's a summary of the steps:
- When you've found an image you'd like to grab, point the cursor
somewhere in it and
- (with a Mac) hold the mouse button down
- (with a Windows machine) hold the right mouse button down.
You'll see a menu, one choice of which is "save this image". If you opt
to save you'll have an opportunity to specify where the image
should be saved on your machine (e.g., on the desktop, in a folder, to a
floppy disk).
- Once the image is saved on the local machine it will need to be
transferred to Liberty (to your public_html subdirectory, for choice) in
order to be accessible to Netscape. You'll have to use FTP (File
Transfer Protocol) to accomplish this feat:
- Using a Mac: find the Fetch icon and double-click on it
- Using a networked PC with Windows: find the FTP Access icon and
double-click on it
- (it's also possible to use a non-Windows PC to do the transfer, but
let's leave that out for now)
Both Fetch and FTP Access give you the opportunity to open a
connection to a remote computer. For our purposes here the 'remote'
computer is Liberty, so you need to
typeliberty.uc.wlu.edu
under 'Host', and enter your Liberty username and then your Liberty
password in the spaces provided. Fetch and FTP Access will go through
the FTP login procedure and display- (Fetch) The files and
subdirectories in your Liberty home directory
- (FTP Access) The files
and subdirectories in your Liberty home directory and the files
and directories in your C:\ drive
Both Fetch and FTP Access do the work of transferring files for you once
you've selected the file you want to move. To move from a local machine
to Liberty:- (Fetch) Click on the 'Put File...' button to
see a list of files on the Mac, select one by clicking on it, and click
in the 'Open' button
- (FTP Access) Find the file you want to move, click on it and hold the
mouse button down, then drag it to the other (Liberty) window and release
the mouse button
There is one thing to remember if
you use either of these methods to move a .gif file: you
do the transfer as or
your image will be unreadable. If you are using Fetch, choose raw
data as the option --the default value 'Mac Binary' will not work.
Another bit of mumbo-jumbo once you've successfully moved the .gif file
to Liberty: you need to check to see its permissions status:
- At the $, type ls -ila and you'll see the long form of
your directory listing. What you're looking for is a field that looks
like this:
          -rw-r--r--
          -rw-r-----
          -rw-r-----
- If your .gif file has -rw-r----- it means that you can
read the file and write to it, but the world at large can't. You need to
change these permissions to permit Netscape to find and display
the .gif.
- At the $, type chmod 644 filename.gif (substituting
your gif's filename as appropriate). An alternate
method contributed by Dr. Tom Whaley may be more intuitive.
- At the $ type ls -ila again and you'll see that your .gif now
says -rw-r--r--, indicating that it's readable by the world at
large.
So we've covered - grabbing images
- FTPing images to Liberty
- checking and changing read permission
Now what's necessary is
the HTML to include an image in a document. It looks (in the basic form)
like this:<IMG
SRC="filename.gif">
There are possibilities for alignment and other presentational niceties,
but that's the essential form of the HTML tagging for an image.

