Adding Data to ArcView Maps
An ArcView map is produced by several files: .shp files which define
the entities (points, areas, lines) to display data, .dbf files which
contain data for each entity, and others with other extensions and
other jobs to do. Adding data is a matter of a special sort of editing
of .dbf files, using the Join function in ArcView to associate
.dbf files which share a common field (like an ID number). There's
another page which explains editing attribute tables to add point data.
.dbf files can be edited using Excel, but successful Joining
requires a precise dance within ArcView. Here are the steps:
-
Use Excel to open the ArcView .dbf file you wish to add variable(s) to.
We'll use the Austrian county data (aut_cnty.dbf) in this example.
- Start Excel and navigate to the directory where the .dbf files of
interest are located:
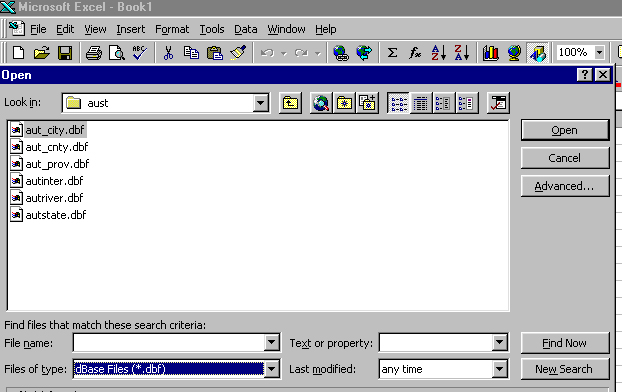
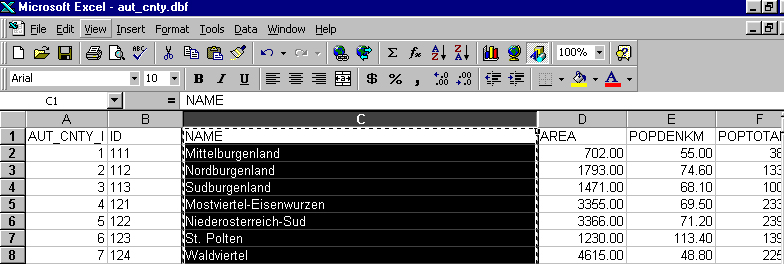
- Open the file of interest:

Note that there's a column with ID numbers... - Select (highlight) and
Copy first that column and then the adjacent NAME column:
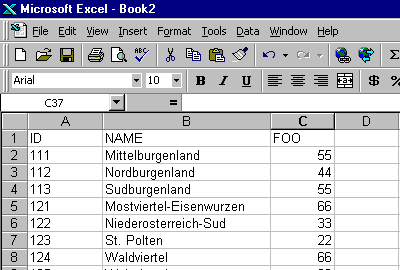
- Now make a NEW Excel spreadsheet and PASTE the ID numbers and NAMEs into it:

This is where you'll enter new data. - Save the resulting spreadsheet
in the .dbf format in the same folder as the .dbf file to which
you wish to link it. In this case I've added a variable FOO with some
bogus numbers,
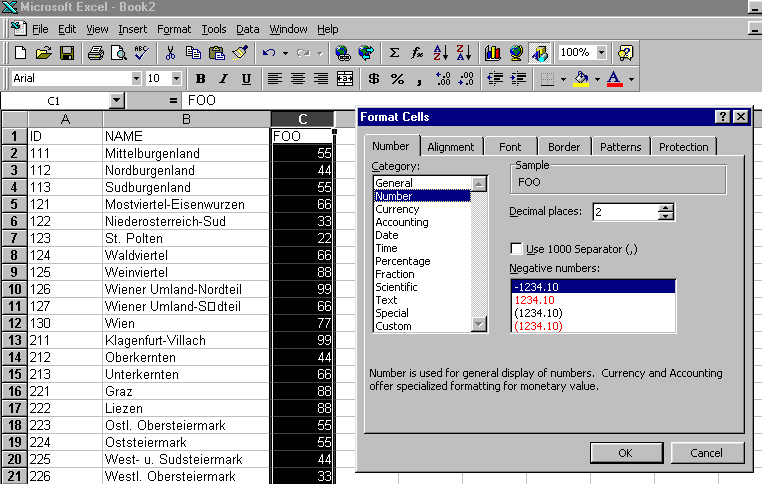
but I'll need to change the FORMAT of the numbers
before saving the .dbf file, choosing 'Cells' from Excel's Format menu,
and 'Number' from the Format Cells dialog box:
- NOW save the new file with a convenient name, in the .dbf format

(and agree to "save only the active sheet")
close Excel (but say NO when asked if you want to save in Excel
Workbook format), and start ArcView.
From ArcView's Project menu, choose 'Add Table' and select the
newly-created .dbf file (in this case, foo.dbf) 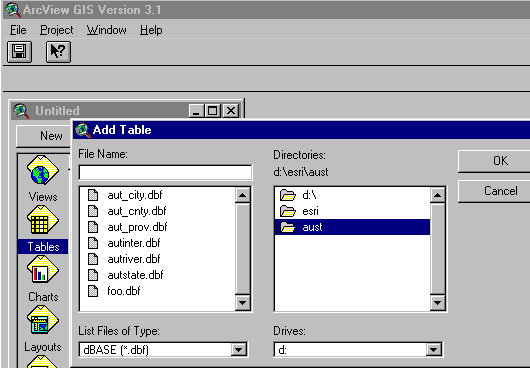
and click in
the Id title bar to select that column as the one to match
with the identical column of aut_cnty.dbf: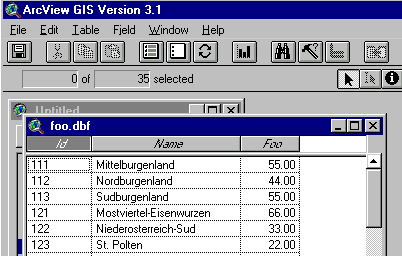
Now open a New View in ArcView, navigate to the location of aut_cnty.src,
and once the desired units are showing
click on the
Open Theme Table icon, then select the Id column 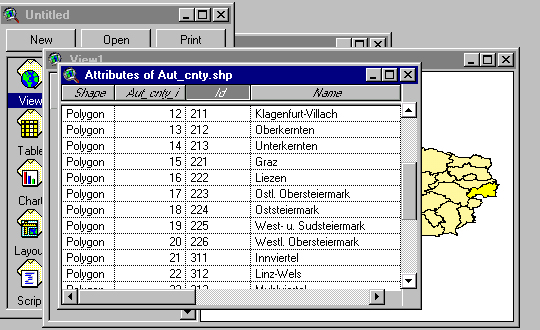
and note that the JOIN icon lights (un-greys). Click the JOIN button, and
then note that the FOO column has been added at the end of the data:
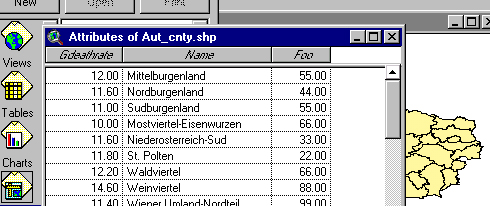
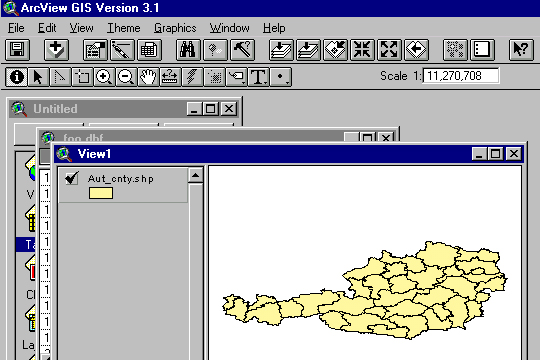
The FOO data can now be seen in spatial distribution:
(in fact these data are all but totally meaningless...)
If you wish to retain joined data it's best to save as a new project
(an .apr file), using the "Save Project As..." choice on ArcView's File
menu:
See also a guide to how to add point data.