PaintShop Pro is shareware (i.e., it's not free --if you try it and like it you send $ to the author and can then use it with clear conscience), and we'll be experimenting with a demo version of the software.
If you are a Mac person there's an analogous high-powered program that is free to you as a taxpayer: NIH Image, which you can download from NIH (or get put onto a disk while you're at W&L --just ask Hugh or Pam for details).
Start by going to the File menu and choosing New. Accept the default values for the new image by clicking OK (or change the values to 300 wide and 300 high if you'd like more space) and you'll see a workspace appear.
When you point to a palette tool you can see a brief description of its function at the bottom of the PaintShop Pro window (brushes, pencils, pens, chalk, spray can... and geometrical and freehand shapes, text, lines, colors...). Click on any button to turn the cursor into the chosen tool.
Try some of these. Keep in mind that you can use the Undo command from the Edit menu to 'erase' something if you don't like it --but once you choose another tool the item(s) you've drawn are 'fixed'.
When you're pleased with an image, choose Save as... from the File menu to save the image to your disk. Save as... gives you many format choices, including .gif (for web page use) and .bmp (for insertion into WordPerfect documents) and .tif (for insertion into Word documents).
The various menus allow interesting manipulations. Try the Image menu to mirror-image and rotate or resize your image. Try the some of the possibilities on the Colors menu to change the character of your image.
As you'll see, there's an infinitude of possibilities, and getting really good at image editing would be quite a struggle. But the point for now is that it's possible to enhance (or overcomplicate) images, possible to change pixels one-by-one if you want to. 'Reality' is what you make it.
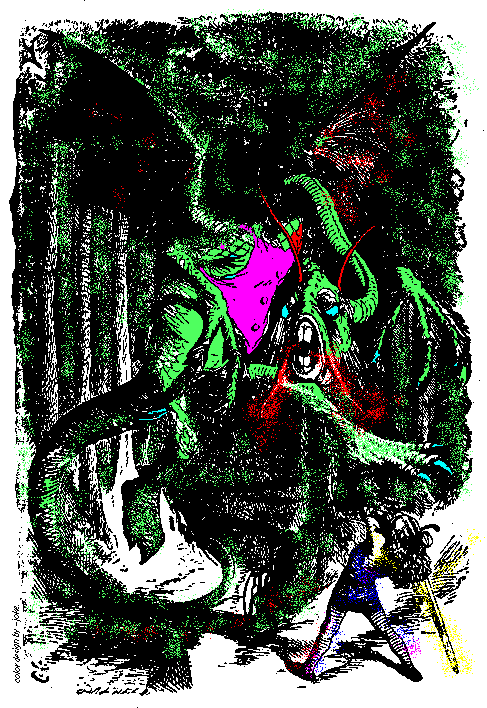
The colorization of the Tenniel drawing of The Jabberwock was done with a tool like Paint Shop Pro.